June 07, 2010

In Season: Grilled Spot Prawns with Spring Asparagus

There's that funny phenomenon in life when you happen to notice the same thing over and over again. Like when you buy a new car and suddenly it seems EVERYONE is driving the same model. That’s what happened to me with spot prawns. Had them for the first time just two weeks ago at Malena in a gorgeous spot prawn risotto with a crustacean brodetto, artichoke and cumin. And then there they were at Fisherfolk at the farmers' market last Saturday.  With no plans for dinner, we bought a pound, firmly frozen in sea water and picked up a bunch of fresh asparagus from Anne at the Wooler Dale Organic Farm stand. It was the perfect way to eat our first outdoor meal of the season.

I had never heard of spot prawns before, and it's good to know that they're deemed an acceptable seafood buy.  According to SeaChoice, which rates and ranks the sustainability of seafood:
"The spot prawn industry is currently centred on exports; over 90% of the prawns caught in our waters end up in Japan. At the same time, the imported, unsustainably harvested, and arguably less-tasty prawns from Asia are readily available on the Canadian market. It seems counterintuitive to think of flying all those little prawns around the world, when given sufficient local demand, consumers could affect these trends and make this product more readily available here in Canada."
The best part about these spot prawns is the simplicity of preparation.  A simple grill with the shells on, a squeeze of lemon, and the already salty prawns are ready for a happily messy meal.  You can also marinate them in an Asian style marinade. If you are lucky enough to get sashimi grade, try them raw. 

Grilled Spot Prawns
serves two

1 lb. sashami grade spot prawns
olive oil
2 lemon halves

1.  If frozen, thaw prawns and rinse well.  Dry on a tea towel.  If using a marinade, put the prawns in a bowl and marinate for 30 minutes.


2.  Heat a grill (either gas or charcoal) until hot.  Grill the prawns for 3 to 4 minutes per side, or until just done (shells will be slightly charred)


The "spots" that give these prawns their name


3.  Serve immediately, squeezing lemon juice to taste before eating.

Simple Grilled Asparagus
serves two

Asparagus can be prepared in many ways, and combines beautifully with any number of ingredients.  Best of all though, is fresh just-picked spring asparagus, lightly grilled, and topped with a shaving of local cheese.

1 lb. asparagus, trimmed
Olive oil
Salt to taste or grated cheese (such as Parmigiano Reggiano)

1.  Light a charcoal or gas grill on high.  Arrange asparagus crosswise on grill.  Cook, turning frequently, until lightly charred.

2.  Remove from heat, toss lightly with olive oil and salt, and top with grated cheese if desired.  We used a lovely sheep's milk from Monforte Dairy.


A little bit of quinoa rounds out the meal

Be sure to have plenty of wet napkins on hand for sticky fingers!


The garden lights come on, ushering in twilight and the end of a perfectly delicious dinner

May 31, 2010

Quick Bites: Summer Salsa Salad

Now that the days are long, the sun is shining, and suppertime can linger well into the evening, it’s time to simplify dinner with something light, easy and delicious.


Enjoying lunch at Waupoos Estates Winery in Prince Edward County

The inspiration for this salad started with salsa-flavoured cheese curds purchased from Black River Cheese Company in Prince Edward County. Curds are one of the few types of cheese that should be eaten fresh, ideally within a day or two of manufacture. We bought a bag to nibble on as we drove through the County, but there was plenty left by the time we got home. With no time for grocery shopping, the curds, combined with some fresh mixed lettuce, avocado, tomato, and a light vinaigrette, made an easy meal that was the perfect way to end the weekend.

Summer Salsa Salad
serves two for dinner

4-6 c. mixed greens, such as romaine and butter lettuce
1 large tomato, diced
½ avocado, diced
one bag fresh cheese curds (about 8 oz)
2 tbsp olive oil
2 tsp sherry vinegar
sea salt or Maldon salt, to taste
freshly ground black pepper, to taste

1.  Combine first four ingredients in a bowl and toss lightly.  Add next four ingredients, toss until combined, and serve with crusty bread alongside.

Use any type of firm cheese, cubed, for this simple supper salad.  To up the fiesta flavour, add diced red peppers and marcona almonds


May 28, 2010

Spring in a Bowl: Fava Bean, Wild Leek and Grilled Scallop Risotto

Seems that everyone in Toronto is shopping for fava beans these days, and some of us are even making the same thing with them.  Just about the time that I was reading about Isabelle's risotto with fava beans, fiddleheads and snow peas, I was making a batch of fava bean risotto of my own.  With fleeting spring greens like wild leeks and favas in season for just a few short weeks, it's worthwhile to seek them out this weekend at the farmers' market - even if you have to battle the Greek yiayias to do so.

Liz's Spring Risotto
serves 4

This delicious seafood risotto uses a hint of pancetta and chicken broth.  For a vegetarian version, omit the pancetta and use vegetable broth instead.

1½ lb. fava beans (unshelled weight)
1 tbsp olive oil
1 large shallot, finely chopped (enough for ¼ c)
2 oz. pancetta, chopped (optional)
Freshly ground pepper
⅓ c chicken broth
2 tbsp each unsalted butter and olive oil
One bunch wild leeks (ramps), rinsed and chopped (white and green parts)
1½ c. arborio rice, unrinsed
½ c. dry white wine, divided
4-5 cups chicken or vegetable broth, heated to a slow simmer
10-12 fresh sea scallops

1.  Shell fava beans and wash in cold water.  Heat the oil in a heavy medium saucepan and sauté 2 tbsp of the shallots until they are translucent.  Add the pancetta and sauté for another minute.

2.  Add the fava beans and pepper, and stir until coated.  Add the ⅓ c water, cover the pot and cook over low heat for five minutes or until just tender.  Take off the heat and cool slightly.

  
3.  Divide the beans in two batches and puree half.  Set aside whole and pureed beans in one bowl.


4.  Cook the scallops next.  I use my handy cooktop to grill the scallops until they just opaque; you can also broil the scallops, or, if you have a second cook in the kitchen, do them over an outdoor grill just before adding to the risotto (see step 7).  If you are cooking at this stage, set aside when cooked and proceed with risotto recipe.


4.  If you haven't done so, rinse and chop the wild leeks, and set aside.


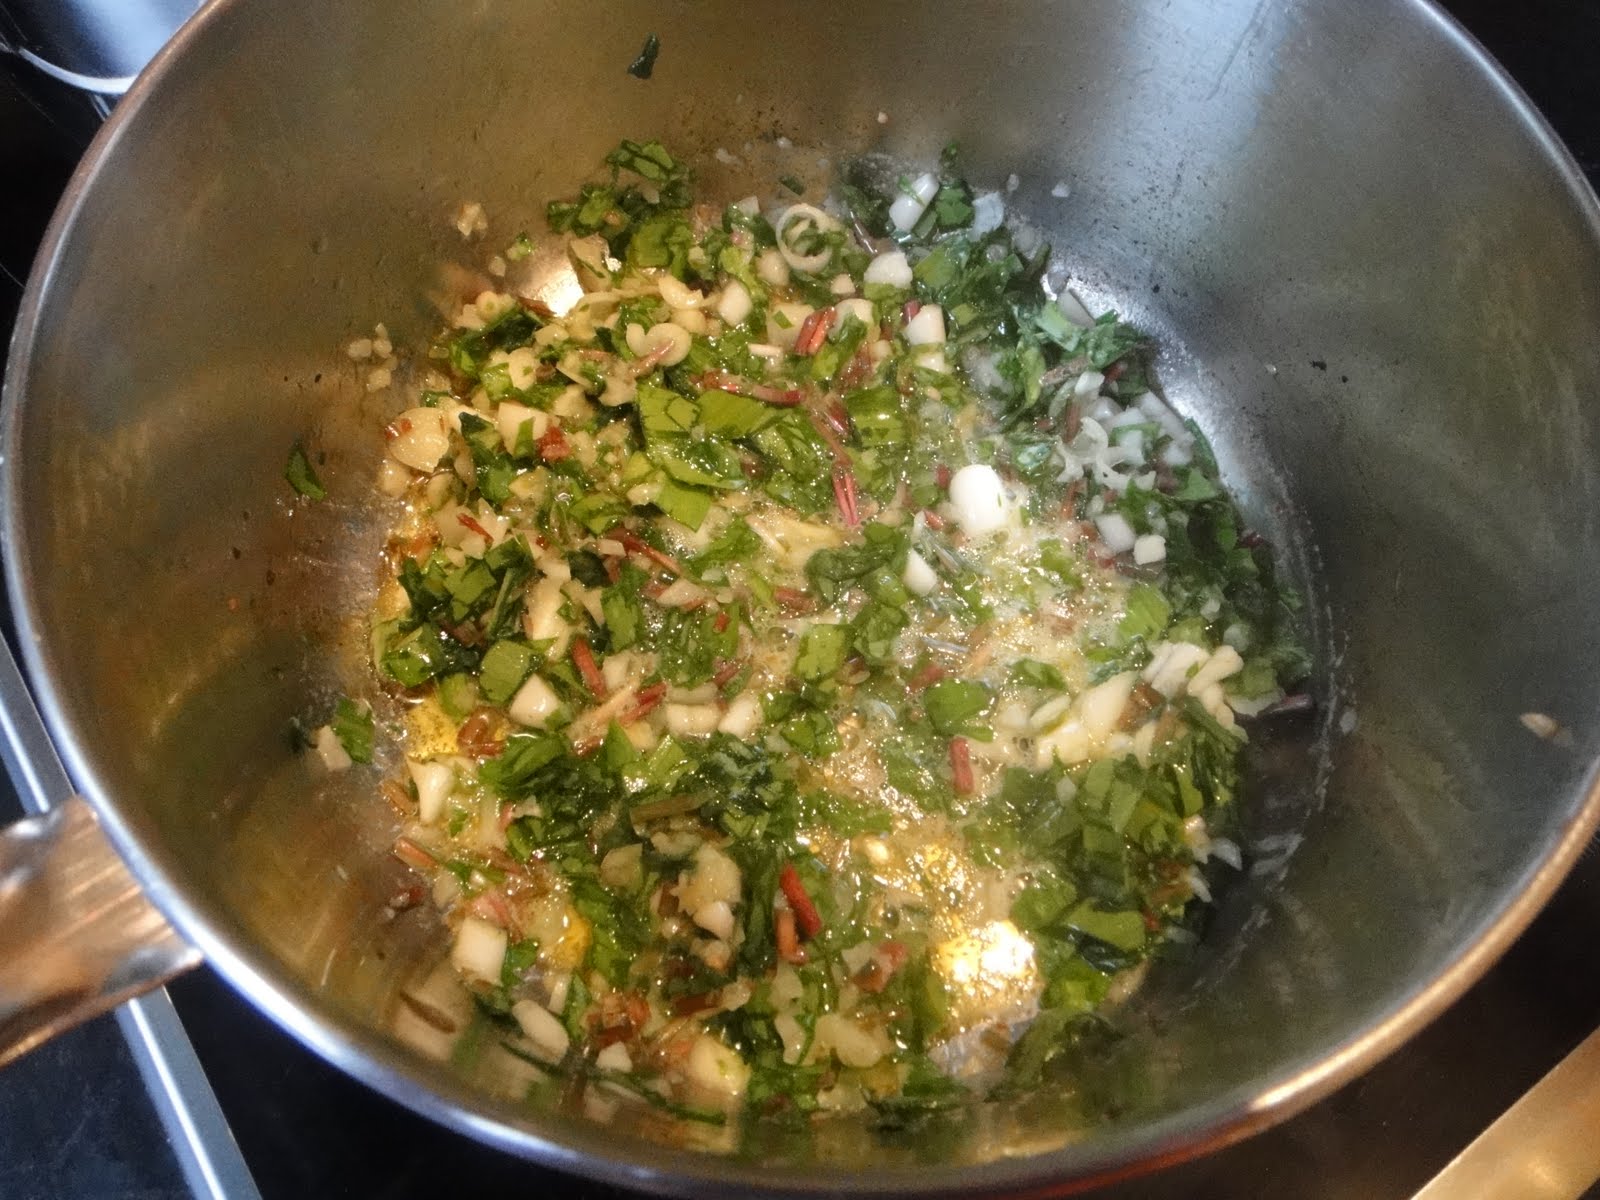
In a large heavy bottomed saucepan, combine the butter and olive oil over medium-high heat until the butter is melted and foamy.  Add the remaining shallots and sauté until the shallots are translucent and golden. 

5.  Add the chopped wild leeks, and sauté for about a minute.  Add the rice and continue cooking gently, ensuring all of the rice is well coated with the oil.


6. Now the fun - and the slow cooking - begins.  Add the wine and stir slowly until just evaporated.  Continue adding the hot broth slowly, half a cup at a time, waiting until the broth is absorbed, before adding more.  Stir the rice constantly to ensure that it is not sticking to the bottom of the pan, and make sure the rice is not boiling at too high a temperature point.  The rice should take about 25 to 30 minutes to cook.  The risotto is done when the rice is chewy witn a slight firm centre - al dente.


7.  Stir in the grilled scallops and the reserved fava beans, heat through briefly and serve immediately.


May 23, 2010

Farmers' Market Find - Fresh Duck Eggs

There's always a treasure trove of wonderful food at the market - in season now are ramps, fiddlehead ferns, asparagus, fava beans. Seeing all those delicious greens reminds us that summer is practically here. 


But don’t forget to look for something new in the basics too. I first tried duck eggs last spring and was immediately hooked. It starts with the eggs themselves – beautiful mottled colours, all slightly different in size and shape, each egg looking as if it were cast of marble. These are eggs harvested by hand, not sorted by a machine.


The real prize is inside. While the eggs are virtually the same size as chicken eggs, the yolks are bigger and a deeper hue of yellow, the white pristine white. Use them for everything that you would normally use eggs for, but to appreciate the real “egginess” of them, make a couple sunny side up in a pan, served alongside freshly toasted bread. It will make your weekend a better thing.


May 14, 2010

May Daring Cooks Challenge: Stacked Green Chile & Grilled Chicken Enchiladas with Green Chile Sauce


After recently cooking Mexican food for the first time from The Tortilla Book, I was excited to try this month's "Cinco di Mayo" inspired Daring Cooks Challenge.

Barbara of Barbara Bakes and Bunnee of Anna+Food chose a delicious Stacked Green Chile & Grilled Chicken Enchilada recipe in honour of Cinco de Mayo.  The recipe, featuring a homemade enchilada sauce, was found on Fine Cooking and written by Robb Walsh.

Stacked Green Chile & Grilled Chicken Enchiladas with Green Chile Sauce
serves four

For Green Chile Sauce:
1½ lb. fresh Anaheim or poblano chiles (about eight 6 to 8 inch chiles)
Vegetable oil
8 oz. tomatillos (about 4-5 medium), stems removed
4 c. chicken broth
1 tbsp minced shallots
1 tsp dried oregano
1 clove garlic, minced
½ tsp kosher salt (add more to taste)
¼ tsp black pepper (add more to taste)
2 tbsp cornstarch, dissolved in 2 tbsp water
Dash hot sauce, your favorite, optional

For enchiladas:
5 or 6 bone-in chicken thighs, skin removed
3 tbsp olive oil
Kosher salt and pepper
12 small corn tortillas, 5-6 inch diameter
6 oz grated Monterey Jack cheese
Cilantro for garnish, chopped and sprinkled (optional)

Green Chile Sauce

yields about 4 c.

1. Coat each chile with a little vegetable oil. Lay the oiled chiles on the grill or lined baking sheet. Place the grill or broil close to the element, turning the chiles so they char evenly. They should be black and blistered.  As they char, remove them to a bowl and cover with plastic wrap. Let them rest until they are cool.
Spraying the foil with non-stick spray prevents the peppers from sticking

2. Gently pull on the stem to remove the seed core.  Peel away as much skin as possible, cut the chile in half and scrape out any remaining seeds.  Cut chiles into strips and chop roughly.  Set aside.


3. Put a medium saucepan of water on to boil and remove the papery outer skin from the tomatillos. Boil the tomatillos until soft, 5 to 10 minutes. You can also grill the tomatillos until soft.*

*I grilled the tomatillos and the chicken for the enchiladas at the same time that the chiles were roasting in the oven.  Multitasking at its best!


4. Cool tomatillos and  puree in a blender or food processor.  Put the pureed tomatillos in a medium saucepan along with the chicken broth, chopped green chiles, minced shallots, oregano, garlic, salt and pepper.


5. Bring to a boil over medium-high heat and then reduce the heat and simmer for 10 minutes.  Add the cornstarch/water mixture and stir well. Simmer, stirring occasionally, until the sauce is thickened and reduced to 4-5 cups, another 10-15 minutes.


6. Adjust seasonings and add hot sauce if you want a little more heat.

Stacked Green Chile and Grilled Chicken Enchiladas

1. Heat a gas grill to medium high or build a medium-hot charcoal.  Coat the chicken with olive oil and season well with salt and pepper. Preheat oven to 450 degrees.

2. Grill the chicken until just cooked through.  Cool and then slice into thin strips or shred.


3. In a small skillet, heat 3 tablespoons oil over medium-high heat until very hot. Dip the edge of a tortilla into the oil to check – it should sizzle immediately.

4.  Using tongs, put a tortilla into the pan and cook until soft and lightly brown on each side, about 15-20 seconds per side (at the most).  Drain on paper towels.  Add oil as needed and continue until all 12 tortillas are done.

5.  In a baking dish large enough to hold four separate stacks of tortillas, ladle a thin layer of sauce.  Lay four tortillas in the dish and ladle another ½ cup of sauce over the tortillas.


6.  Divide half the chicken among the first layer of tortillas, top with another ½ cup of sauce and 1/3 of the grated cheese.  Stack another four tortillas, top with the rest of the chicken, more sauce and another third of the cheese.  Finish with the third tortilla, topped with the remaining sauce and cheese.


 7.  Bake until the sauce has thickened and the cheese melted, about 20 minutes. Let rest for 5-10 minutes.

8.  To serve, transfer each stack to a plate. Spoon any leftover sauce over the stacks and sprinkle with cilantro, if you wish. The stacks may also be cooked in individual gratin dishes.