February 18, 2011

Something Fishy: Halibut with Meyer Lemon, Olives and Fennel

It’s a funny thing about seasonality. We tend to associate that with the abundance of summer and fall, when Nature spoils us with an
embarrassment of riches. Winter is a crueler time, stoic and practically begging for the hearty dishes that fill and nourish us. But even now there's a seasonality uniquely of the moment that makes lighter dishes and tastes possible and welcome.

I’m thinking about Meyer lemons a lot these days. I hope they won’t become a year round thing; foods should be savoured for their fleeting appearance, valued because they are that much more uncommon. And there’s something about these sunny lemons that makes me think of the Mediterranean: of lazy afternoons, warmth and indolence. I'm thinking of myself sitting at a café table for one, the mysterious woman with the fabulous hat and Jackie O shades, delicately eating a light and tasty fish dish that’s drenched with lemons, olives, fennel. I’m thinking I just might make this for dinner again tonight.

Halibut with Lemon, Olives and Fennel
serves two

1 lb halibut fillet
2 Meyer lemons, thinly sliced
1 fennel bulb, trimmed and thinly sliced, fronds reserved*
½ to ¾ c assorted good quality Mediterranean olives
2½ c olive oil
Fine sea salt and freshly ground pepper to taste
A good finishing salt, such as Maldon (optional)

Poaching firm fleshed fish in olive oil and cooking in a low heat oven is a wonderful way to prepare halibut. Surprising, the oil doesn’t absorb into the fish at all.

1. Preheat the oven to 250F°. Rinse and pat the fish dry and season with salt and pepper. Use a light hand with the salt; the olives will add to the dish's saltiness. Set aside.

2. Line a shallow glass baking dish with fennel fronds. Top with a layer of the lemons and then a layer of fennel slices. Place the fish on top.

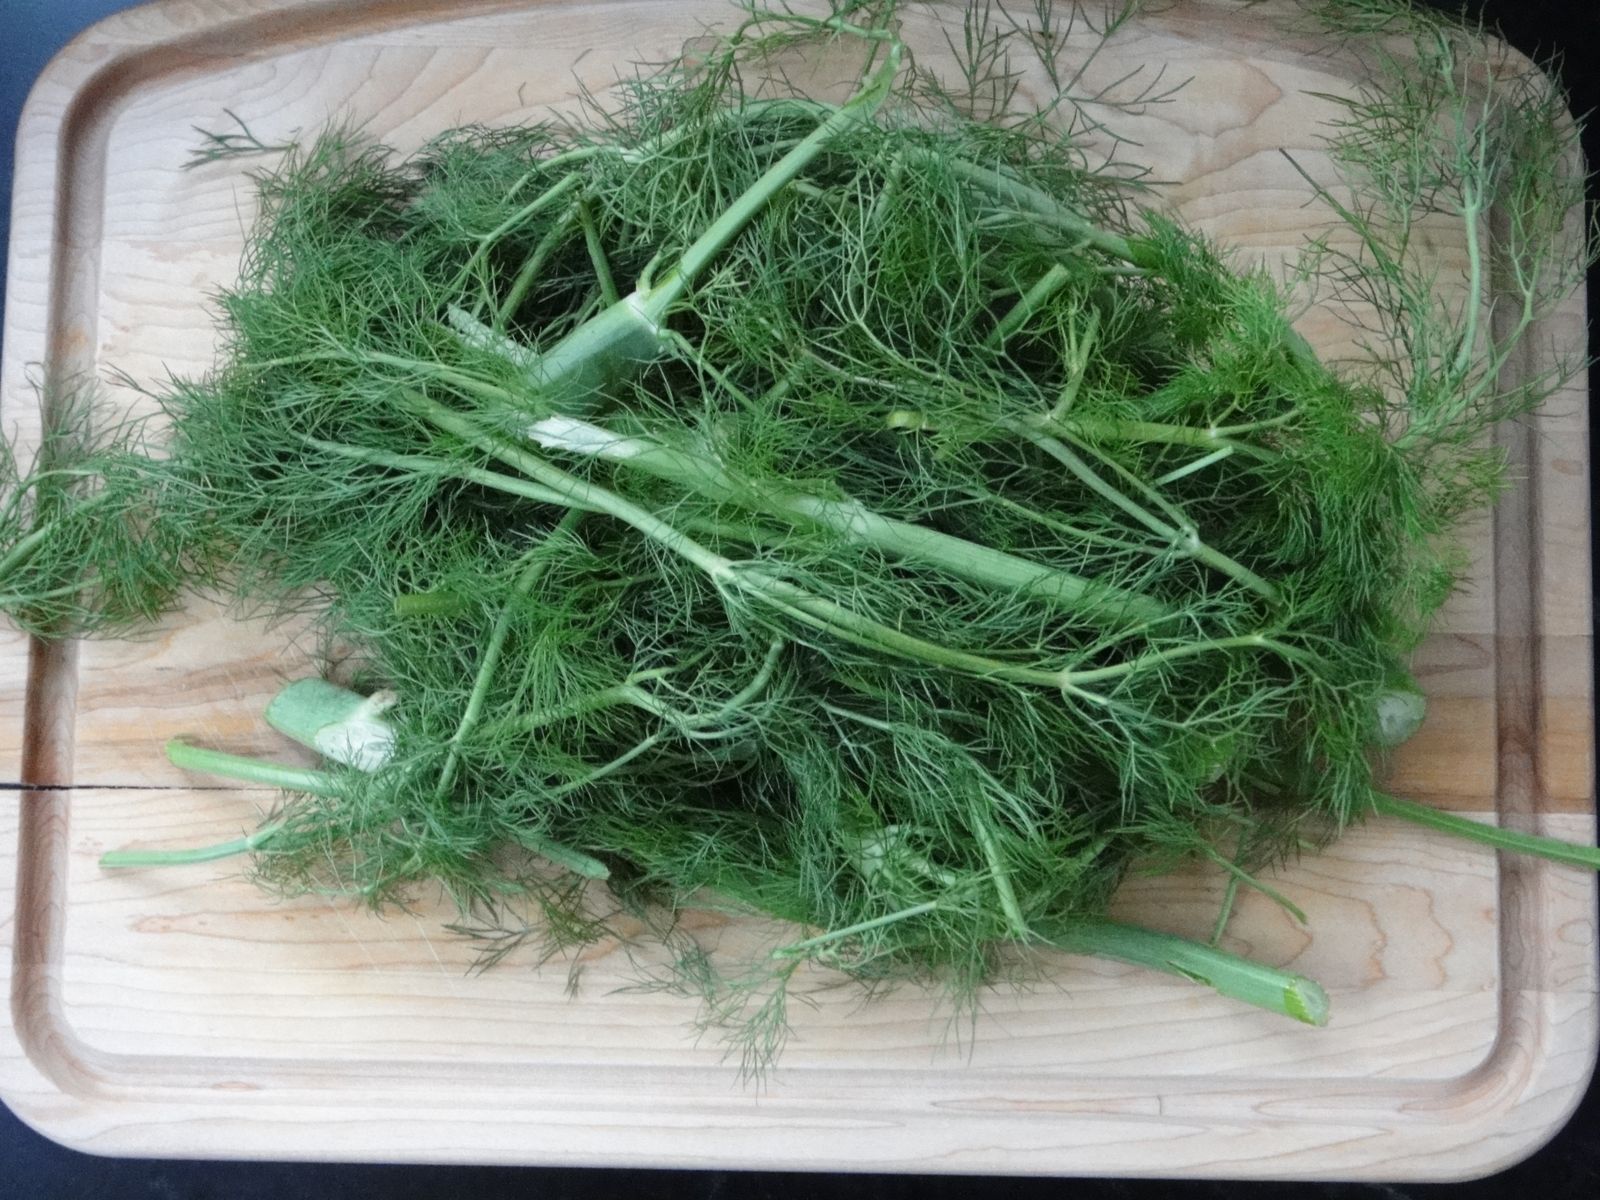
You can't have too many fronds at the bottom of the dish; supplement with the celery-like stalks in a pinch

3. Sprinkle the olives on top and around the fish. Add another layer of lemons and fennel slices. Carefully pour the olive oil into the dish until the fish is almost completely submerged.

Don't worry about the olive brine getting into the dish

Note the the oil is not covering the lemons and fennel, but is covering the fish

4. Bake in the middle rack of the oven for one hour, or until the fish is flaky. To serve, remove the fish from the dish with a slotted spoon and divide amongst two plates. Garnish with the lemon and fennel slices and the olives.  Add a pinch of Maldon salt to finish the dish, if desired.  Just be careful about the overall saltiness of the dish.

5. Pour a glass of Alsatian Pinot Gris, don your most fabulous hat and dream of the Mediterranean while you eat.

*Regarding fennel fronds. I got lucky when I went to Fiesta Farms for the fennel; Serge in produce was just trimming a big crate of fennel for restocking. If you can sweetly wheedle a bag of the discarded frond tops, they make an excellent lining for fish dishes, as I've used them here, or to stuff into whole salmon. If you really want to capitalise on an unexpected bounty of fronds, mince and measure the feathery greens into three tbsp portions and freeze in little baggies to have ready to make Fennel-Olive Oil Quick Bread.

February 12, 2011

Now I'm Stylin': The Stylish Blogger Award

A few days ago laxsupermom from Sugar n Spice in the land of Balls n Sticks nominated my blog for a “Stylish Blogger Award”.   It was only when I started reading about other SBA nominees that I realized this wasn’t just a nice way of saying “I like your blog”. When I accept the award, I need to tell you seven things about myself, give the award to 15 other fab blogs (and bloggers) that I love, and a shout out to the person who nominated me.
So, first, thank you laxSM, for your nice nomination!

And without further ado, here are seven random things about me.

1. I have (ahem) a bit of a shoe weakness
Sadly these are not my shoes but a girl can dream

2. And can generally find something to buy even if I’m in the middle of nowhere – I *love* to shop
Who do you suppose shops at this Prada store?

3. We don’t own a TV
Contemporary Tv Stand
When we get one I want it to be MASSIVE

4. But I still manage to be addicted to Glee
glee season 1
Sue Sylvester rocks; or at least that's how I "c" it

5. I collect cookbooks - obsessively
How many is too many, really?

6. And a couple of my recipes have appeared in a best-selling cookbook

If you don't own this cookbook, you should

7. Did I mention I like food?
...but you knew that already

There are so many fabulous blogs out there, it’s hard to choose just 15 to highlight. So here’s a random list of food blogs that make my mouth water, make me laugh, or just plain entertain me. I hope you visit them and enjoy them too.


February 10, 2011

Sweet Winter Sunshine: Marmalade Two Ways

There is something deeply satisfying about eating an orange in the dead of winter.  The juicy flesh defies the snowscape outside, and the sweet and sometimes tangy taste is an antidote to Mother Nature's heavy grey skies. 

Sure, you can buy an orange any time of the year, but now is the time to savour the fleeting season of the best of citrus fruits.  Seville oranges, with scarred and angry skin; delicate Meyer lemons, sweet and so deeply hued as to be almost orange; and my personal favourite, blood oranges, with their shockingly deep red flesh.

I wanted to capture the essence of this sunshine season in the only way we can: through preserving.  I began experimenting with preserves and canning last autumn, and was immediately hooked.  Science meets nature in an alchemy that's part art, part magic.  The best part is that you know you're participating in a practice that has changed only slightly in hundreds of years.

What better gift to give the season's citrus than honouring them in a pretty jar?  Here are two takes that will make your toast - and tummy - happy.

Blood Orange Marmalade
yields approx eight 250-ml jars

Marmalade came to its present incarnation in Scotland hundreds of years ago, but took hold more slowly in other parts of the world.  Today, orange marmalade is often part of the triumvirate of jams gracing the breakfast table.  Its combination of intense peel and jam is just the right taste to highlight a freshly toasted slice of bread slathered with butter.  But don't forget to use it as the Scots do, on everything from roast meats to desserts.

3 lbs blood oranges
Water
6 cups sugar

Note: Marmalade typically calls for 1 cup of sugar to 1 cup of liquid.  You can use this formula as a guideline for all types of marmalade.  For a fuller explantation of the science of canning, refer to my post on plum jam, which has a step-by-step tutorial on how to can.

1. Wash the oranges thoroughly, soaking in hot water if needed to remove dirt from the skin.  Trim the tops and bottoms of the oranges and score the peel in several large strips.  Remove the peel, reserving the fruit. With a serrated spoon or sharp knife, remove as much pith as possible from the peel.


2.  In a large stainless steel pot, place the peel and fill with water to cover.  Bring to a boil and continue cooking at a boil for 10 minutes.  Drain and repeat, boiling the peel for a further 10 minutes.  Drain and let cool slightly.  Cut the peel into thin strips, no more than ⅛ in thick. Set aside.

3.  With a very sharp knife, trim membrane from reserved fruit.  Remove as much membrane as possible, and cut the segments into small dice.  Place the fruit and the reserved peel in a large stainless steel pot, add 1 litre water and bring to a boil.  Boil gently for approx 30 minutes, or until peel is soft when squeezed.  Measure the marmalade; you should have about 6 cups of marmalade mixture.


4.  Return the marmalade to a large stainless steel pot, and bring to a boil.  For every cup of marmalade, add 1 cup of sugar, stirring each cupful in until it is fully incorporated.  Boil until the marmalade reaches gel stage, about 12 minutes.  Be careful not to overboil the mixture.

5.  Skim marmalade if needed, cool slightly, can and boil for 10 minutes.  Cool marmalade and store for the long winter ahead.


Lemon-Scented Orange and Ginger Marmalade
yields approx 10 250-ml jars

2 lbs Seville oranges
2 lemons
1 oz fresh ginger
3 ½ qts water
4 oz crystallised ginger, finely diced
4 ½ lb sugar

1. Wash the Seville oranges thoroughly, soaking in hot water if needed to remove dirt from the skin. Halve the oranges and lemons and squeeze the juice out. Strain the juice into a bowl, reserving the seeds.


2. Strip the flesh from the oranges and lemons, reserving, and slice the rinds into thin strips. Place the reserved seed and pulp into cheesecloth, tie with kitchen twine and set aside.

The pectin's in the pith


3. In a large stainless steel pot, combine the orange and lemon peel, the cheesecloth and the water. Bring to a boil and simmer until the peel is very soft, at least two hours.

Blood orange marmalade in front; Seville orange marmalade in the rear

4. Remove the cheesecloth bag, stir in the candied ginger and the sugar. When the sugar has dissolved, boil until the marmalade is at gel stage, about 30 minutes.

5. Take the marmalade off the heat, cool slightly, then can and simmer for 10 minutes.

January 31, 2011

Vive la France: Soupe à l’Onion Gratinée

Winter is comfort food time, and does anyone do comfort food better than the French? Hearty cassoulets, coq au vin, lamb navarin, fricassée, tarte tatin – classic bistro fare that warms the stomach and soothes the soul.

About this time of year, Richard goes to Paris on business and when he returns, he is full of stories of meals eaten and meals savoured; new favourites found and old haunts revisited. It makes me hungry for a taste of France, and nothing is more satisfying than a bubbling bowl of French onion soup, served straight from the oven.

French Onion Soup
serves 6

Here’s my take on the French classic. I like to use a mix of beef and veal stock for extra richness, and to grill the bread for an added smoky flavour.

2 tbsp unsalted butter
2 tbsp plus ¼ c olive oil
4 large cooking onions, peeled and finely chopped
2 garlic cloves, minced
1 bay leaf (preferably fresh)
2 sprigs fresh thyme
½ c Madeira
6 c beef stock (or a combination of beef and veal stock)
1 tsp fine sea salt
Freshly ground black pepper
12 slices French bread
¾ lb grated Gruyere cheese, grated
6 ovenproof French onion soup bowls

1. In a large stockpot, melt the butter in the olive oil over medium high heat. When the foam subsides, add the onion, lower heat to medium and sauté for fifteen minutes, stirring to keep the onions from sticking.

2. Add the garlic, bay leaf and thyme. Continuing sautéing and stirring until the onions are a deep golden colour. Turn heat to high, add the Madeira and cook for an additional two minutes, stirring frequently, until most of the wine has boiled off.


3. Add the beef stock, salt and pepper, bring the soup to a boil, and lower to a simmer. Cover and simmer over low heat for 30 minutes more.

4. While the soup is simmering, prepare the bread and preheat the oven to the broil setting. Brush the bread slices with olive oil and broil (or grill), turning to brown evenly. Set aside.

I love the convenience of our indoor grill for quick and easy grilling


5. When the soup has finished simmering, check and adjust the salt and pepper to taste. Place two slices of bread in each bowl, and ladle in enough soup to barely cover the bread. Sprinkle each bowl with a generous amount of Gruyere. Set the oven rack to the middle position. Place the bowls on a baking sheet, put in the oven, and broil until the cheese has melted and is bubbly and slightly brown, about 3-5 minutes.


Be generous with the cheese but not overly so; the ingredients should all play in balance with one another

6. Serve it forth piping hot for a delicious and satisfying winter dish.

January 20, 2011

Delish Dish: Kale and Goat Cheese Omelette


Baby, it's cold outside. The Stop's farmers’ market is near-deserted on Saturday, both vendors and customers choosing to stay home rather than battle the January storm brewing outside. I come home without the usual bulging bags, my slim pickings reflecting not just the lack of supply but the season. Cold storage Ambrosia apples from Bizjak Farms; Blossom goat cheese from Monforte Dairy; deliciously fresh eggs from Irina at Bees Universe; and my most treasured find: black kale, the famous Cavolo Nero of Tuscan cuisine, from one of the many small independent vendors the market supports.

It may not be much, but it’s the perfect combination of ingredients to make a good old fashioned hot breakfast. When the thermostat dips to way below zero, there’s nothing better than a tummy full of good food. I buy enough kale to get me through a week’s worth of warming breakfasts. Finished it off with an Ambrosia apple, it’s a most delicious winter morning feast.

Kale and Goat Cheese Omelette
serves one

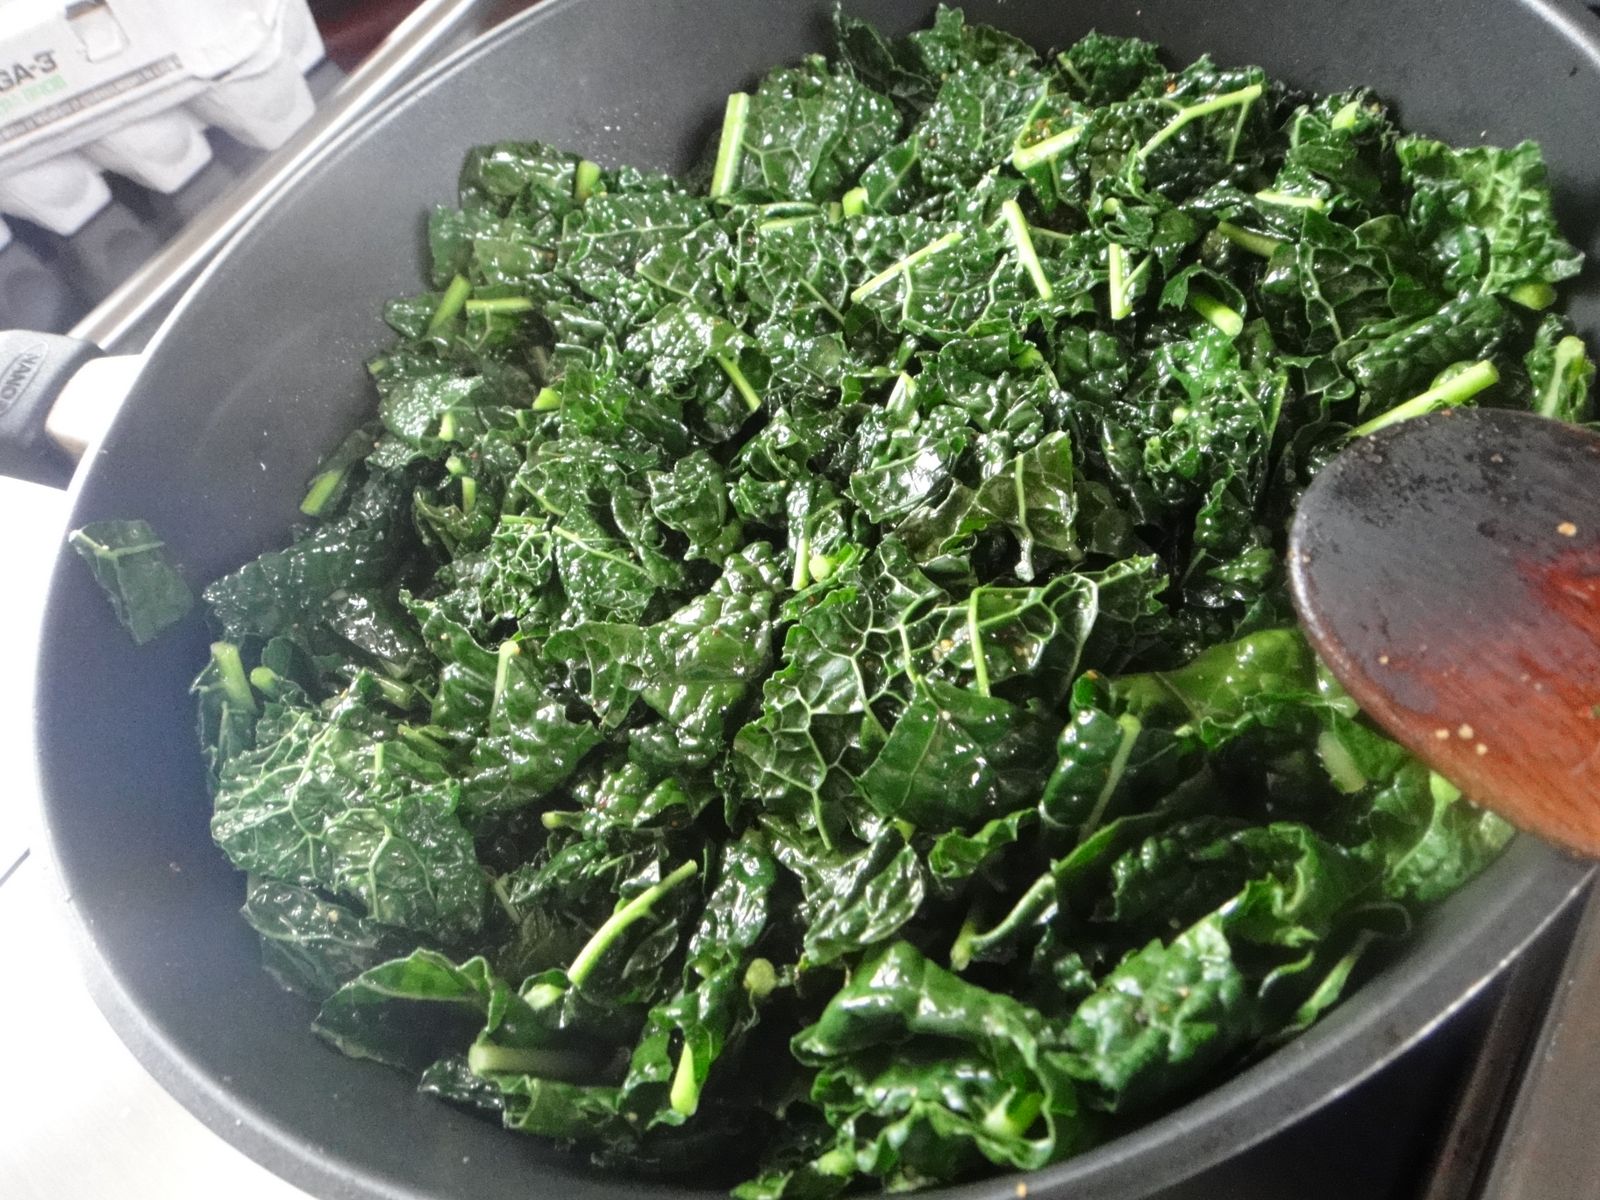
Purists - please note - I am sure this is not the "correct" method for omelette making. But it works for me.  I buy kale in large quantities and prep it all at once so that it's ready in the fridge when I am.  Fresh kale can also be frozen.

2 c fresh kale, washed, trimmed and chopped into three inch lengths
4 tsp olive oil
¼ c low sodium chicken stock or water
½ tbsp Shichimi-Togarashi* (see note), or substitute a blend of taosted sesame seeds, chili pepper flakes,  black pepper and ½ tsp grated orange zest
¼ c soft goat cheese, mixed with ½ tsp grated lemon zest
2 whole eggs
2 egg whites
½ tbsp unsalted butter

1.  Prepare the kale.  In a large non-stick skillet, heat 2 tsp of the olive oil over medium-high heat.  Add the chopped kale and stir for a few minutes.  Add the chicken stock and the Shichimi-Togarashi, continuing to stir, until the kale is wilted but still has some crunch.  Remove from heat and set aside.


2.  In a small non-stick skillet, heat the remaining oil and butter over medium heat. When the butter foams, break the two eggs into the pan, and add the two egg whites.  Swirl the eggs with a fork to break up the yolk, and season to taste with salt and pepper.  Cook the eggs, lifting the edges with a spatula to distribute the eggs and cook them further.


3.  When the eggs are set but still soft, place the goat cheese in dollops over the eggs.  Add the kale, covering the entire surface of the eggs.  With a spatula, gently fold the eggs over to form an omelette.

Eggs are setting but still soft

Hard to see the goat cheese...but it's there!


4.  Cover the skillet with a lid, reduce heat to low and let cook for a couple of minutes more.

Serves one very grateful diner.


*Shichimi-Togarashi is a wonderfully complex seven spice blend that gives dishes deeply subtle nuances of flavour. It's a medium-spicy blend of seven ingredients: black sesame seeds; the dried peel of the unshu mikan (Satsuma orange); Japanese sansho pepper; dried capsicum; roasted dry capsicum; hemp seeds and poppy seeds.  Shichimi-Togarashi is available online and is worth seeking out. 

January 02, 2011

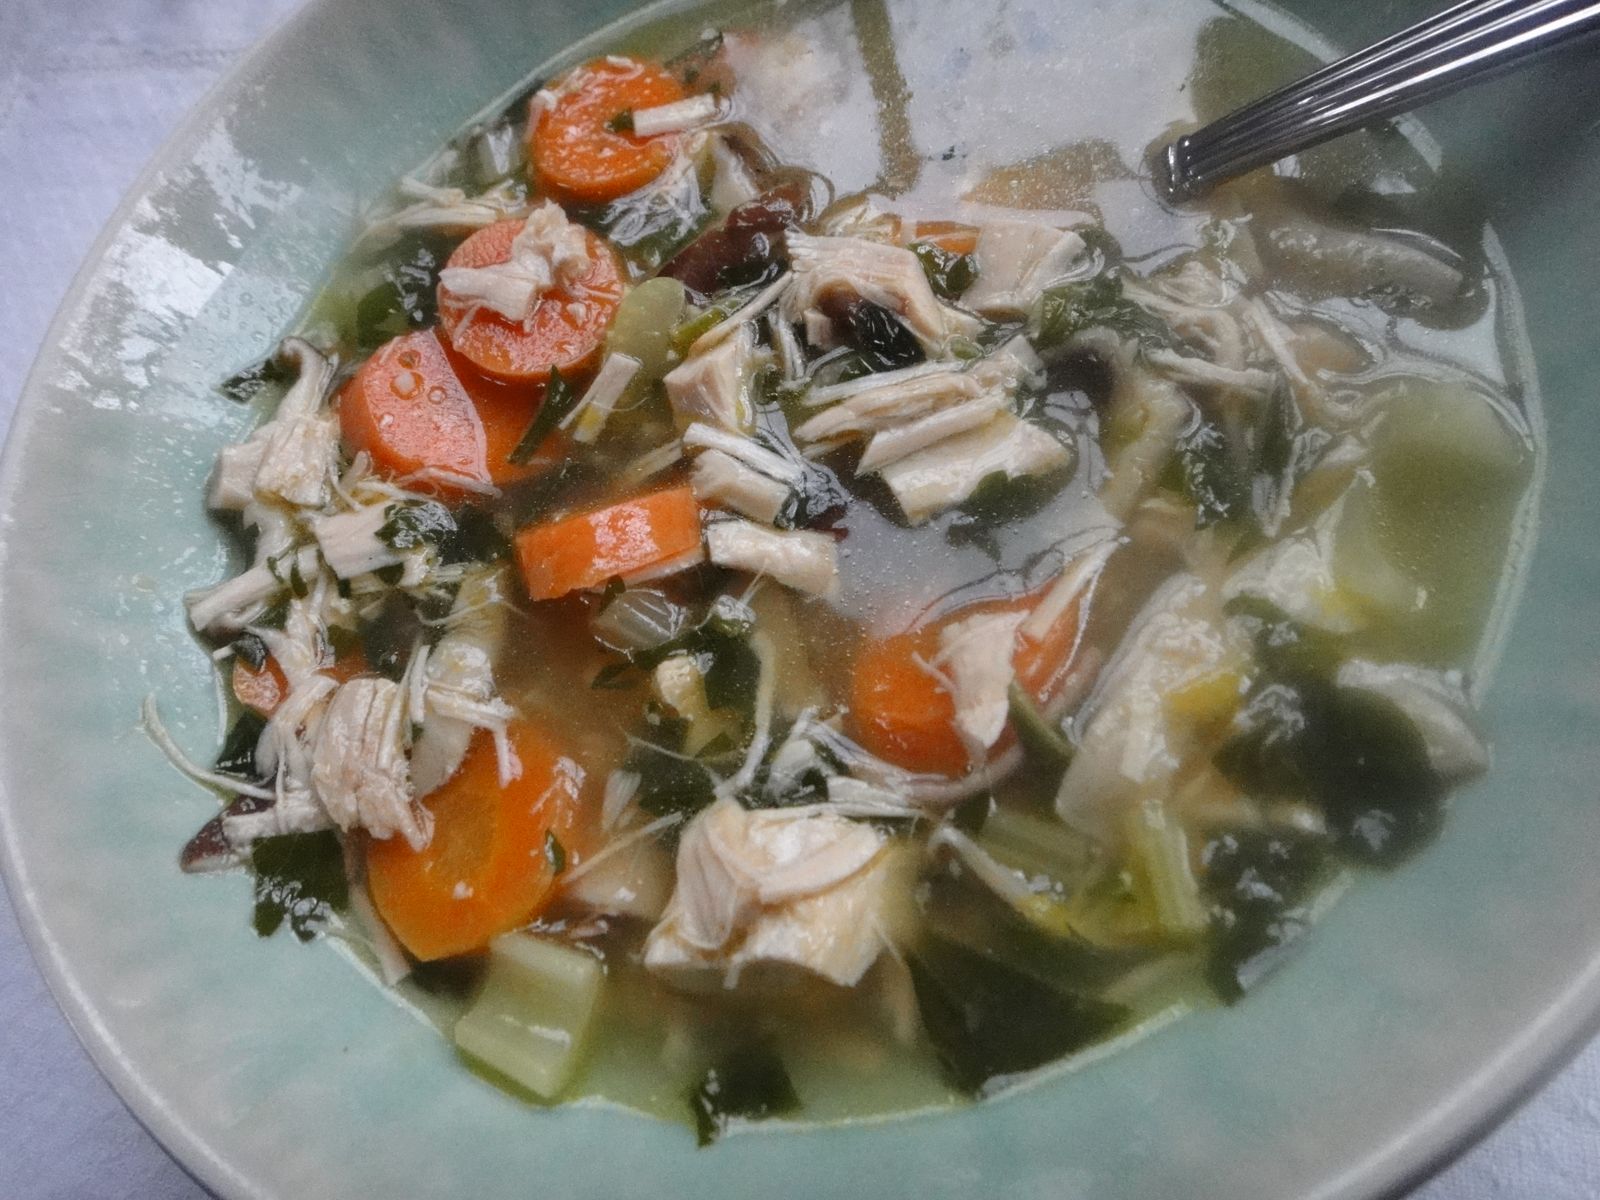
Healthy Eats: Rest-of-the-turkey Soup


I hope you saved the rest of the turkey. Maybe the bones are in your freezer, with the delicious meat carefully wrapped and stored separately. You're tired of turkey sandwiches, a turkey casserole feels like too much work, and frankly, turkey hash just doesn't sound appealing.

Why not make a warming and deeply satisfying soup? The perfect antidote to rich and over-indulgent holiday eating, this soup is a meal in a bowl, and also freezes well.  Richard is the soup maker in the family, and he's perfected this recipe, an old favourite of mine from Weight Watchers. He also loves eating turkey year-round, so don't wait until the holidays to make this.  Take advantage of the fresh turkey parts that are always available.

Richard's Turkey-Vegetable Soup
serves 6-8

2 c cooked turkey meat, white and dark meat combined OR one fresh turkey thigh or breast, diced*
¼ c olive oil
2¼ c thinly sliced shitake mushrooms
2 c sliced carrots
4 garlic cloves, minced
2¼ c baby spinach leaves, washed
1 c sliced celery
8 c low-sodium chicken stock (or homemade turkey stock from those bones)
¼ c parsley
Salt and pepper to taste

*If using fresh turkey meat, add the turkey in step one, along with the mushrooms, carrots and garlic, and then proceed with recipe.

1.  In a large stockpot, heat olive oil over medium-high heat.  Add mushrooms, carrots and garlic, and saute, stirring constantly, until just tender, about five minutes. 

Shitake mushrooms add a delicious flavour to this soup

2.  Add celery and spinach and cook for another two or three minutes, until spinach is just wilted.  If using cooked turkey, add at this point, stir to combine, and then add chicken stock.  Bring to a boil, turn off heat, stir in parsley, and serve.*

*If using fresh turkey, simmer the soup for an additional five to 10 minutes, or until turkey is cooked through.


December 30, 2010

Easy New Year's Eve Appetiser: Roast Beef Tortilla Roll-Ups


Delicious roast beef roll-ups

I love dishes that do double duty. That's especially true of appetisers. My favorites are the ones that can handily sub in for a quick snack or meal once the party's over.

That's why these roast beef roll ups have been an app staple at our house for years. Super easy to prep, they can be made ahead or done at the very last minute if you need more - perfect for a casual New Year's Eve gathering.  Have the fixings or a full one left over? Cut it in half and you've got a tasty wrap. Just add a salad (or potato chips if you're feeling decadent), and some pickles and you have the perfect deli-style lunch.

Roast Beef Tortilla Roll-Ups
Serves 6 as an app or two generously for lunch

¾ c cream cheese, softened
1½ tbsp extra hot horseradish
2 small tomatoes, thinly sliced
1 small red onion, thinly sliced or minced*
1 lb rare roast beef, thinly sliced
Salt and freshly ground black pepper to taste
2 10-in flour tortillas

*I usually make these with thinly sliced onions. For easier rolling, you can mince the onions and add them to the cream cheese mixture in step one.

1. In a large measuring cup, combine cream cheese and horseradish with a wooden spoon until well-blended. If using minced onions, add them and stir well to combine.

2. Spread a layer of the cream cheese mixture on a flour tortilla, right to the tortilla edge. Place roast beef slices on top of the cheese, covering slightly. Add the tomato slices and the thinly sliced onion; do not overlap the vegetables.  Sprinkle with salt and pepper.

Be sure to use the best quality roast beef


3. Roll the tortilla tightly and wrap in plastic. Refrigerate for an hour. The prepared rolls can be made up to a day in advance.*

For appetisers:
When ready to serve, slice the roll on the diagonal in 1.5 inch slices and arrange decoratively on a plate.

Perfect party bites!

For lunch:
Cut the roll in half and secure each piece with a toothpick. Garnish with your lunch fixings of choice and enjoy!

*NOTE: Refrigerating rolls allows the cheese to firm up again but you can easily make these, slice and serve. Making these more than a day in advance will result in soggy rolls - unless you eliminate the tomato.