October 11, 2012

Fruitful Baking: Buttery Peach Brioche

Just about a year ago at this time, I was making my way to an old stone villa in Pistoia, 45 minutes outside of Florence.  I had made plans to meet a perfect stranger at the airport, and we would drive together to Il Salicone, sharing a room for the weekend, and more importantly, sharing meals and community together with 14 other people who were just about as obsessed with food as we were.

That was Plate to Page Tuscany, and the magic of a perfect blend of writing, food, photography and camaraderie linger still.  I have been lucky to meet fellow P2Pers for lunch in London; over bistecca in Umbria; in an East Village old school Italian joint in New York.

But it is in the digital world where we connect most often. From all parts of the globe, we share stories and recipes, deepening friendships first forged over the chopping of vegetables and the silent concentration of writing exercises.  As I read their blog posts, I’m reminded of how food unites us, making old memories fresh, simple ingredients special and the most elemental of dishes remarkable.
 
Jamie at Plate to Page Tuscany
 
My friend Jamie, one of P2P’s founders and an insatiable baker extraordinaire, recognises that communion of food. She, along with fellow food bloggers Lora the Cake Duchess and Lisa of Parsley, Sage, Dessert and Line Drives, recently launched Twelve Loaves, a monthly challenge to get home bakers in the kitchen and get the house filled with the ethereal smell of freshly baked bread. 
 
While I’m a wee bit behind in posting my response to their first challenge, it’s never too late to bake bread.  I hope you’ll join me in rolling up your sleeves and letting the flour fly.    
 
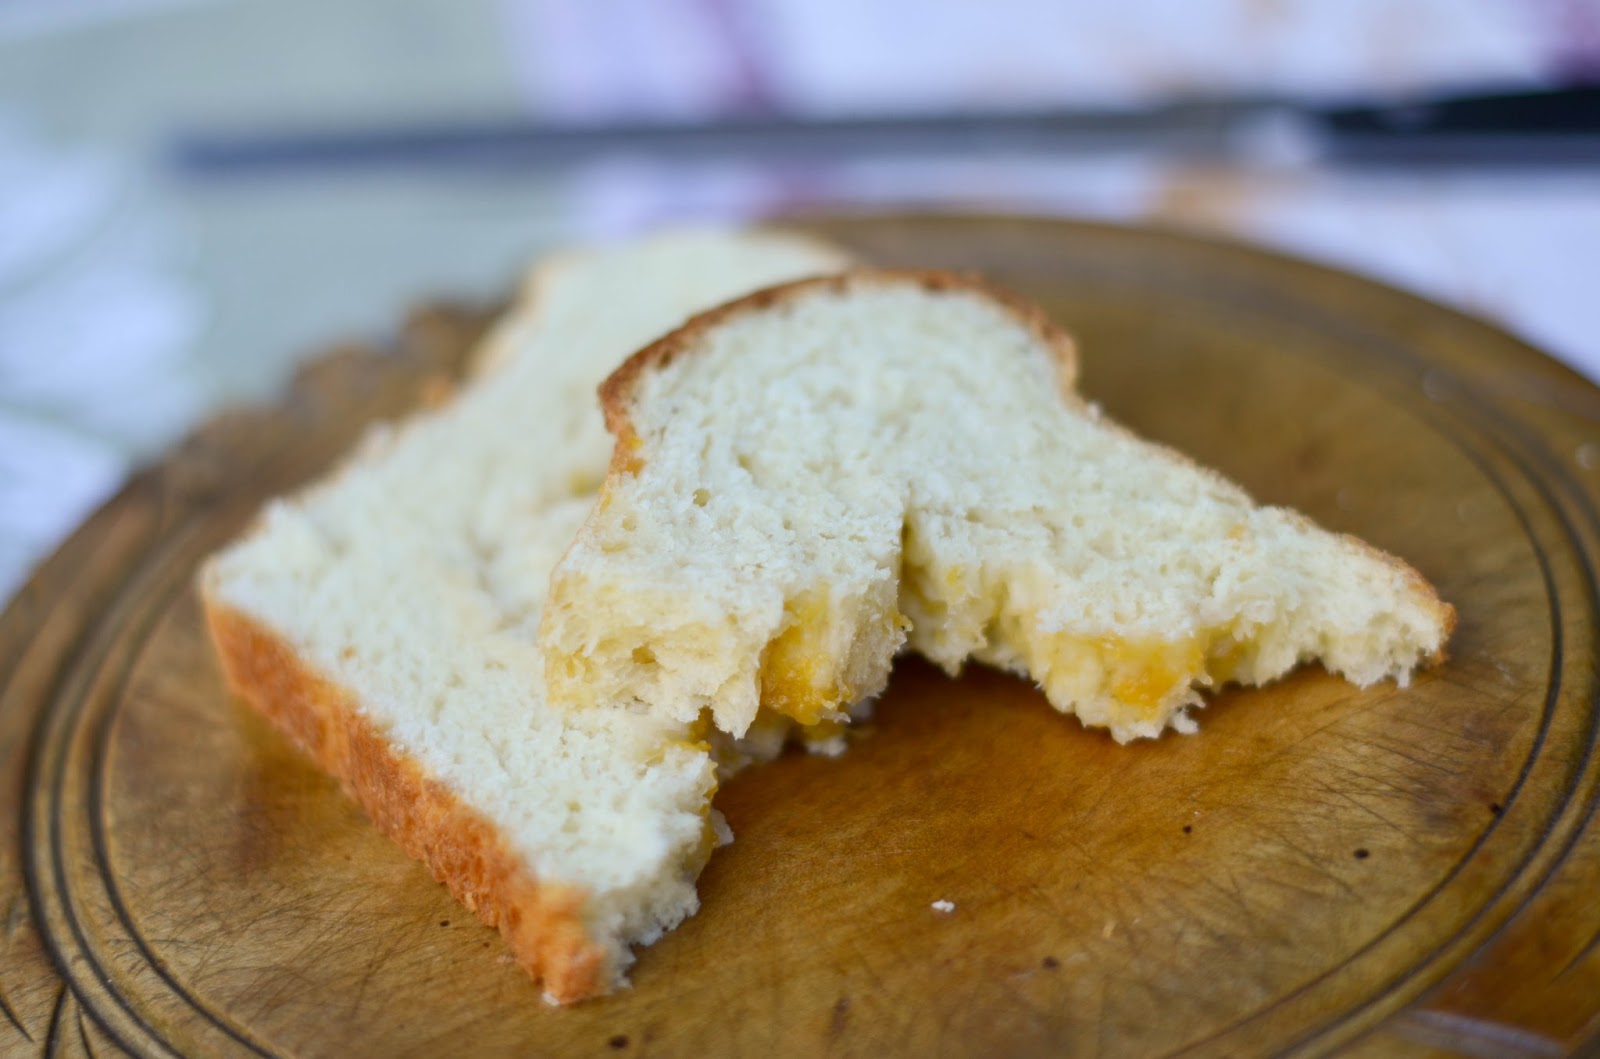
Buttery Peach Brioche
makes 1 loaf
with slight variations from Cook's Illustrated
 
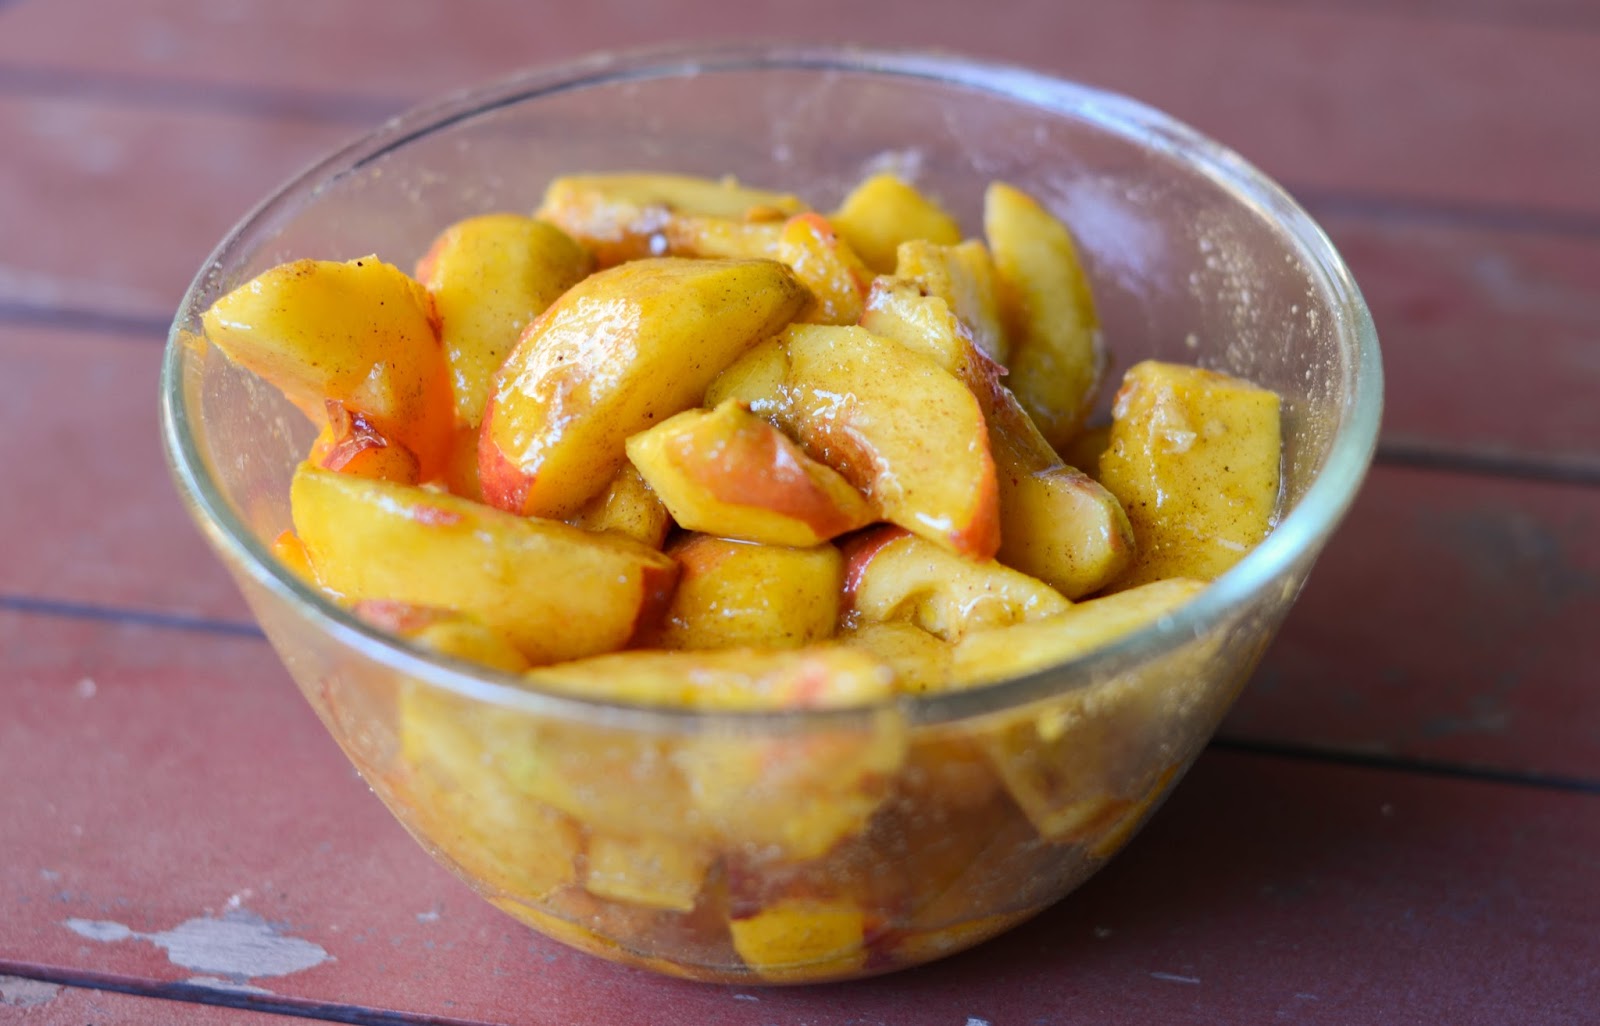
Twelve Loaves’ first challenge asked bakers to bake a bread with summer fruit.  While summer fruit are long gone, this take on bread with fruit celebrates on the season’s most delicious treats: peaches.  I used homemade peach preserves to give a sunny twist to simple and delicious brioche.

One envelope dry active yeast 
½ cup milk (2% or whole), warm
2¼ c unbleached all-purpose flour
6 tbsp unsalted butter, cut into 6 pieces
3 tbsp sugar
1 tsp kosher salt
2 large eggs
¾ c peach jam, plus extra for brushing on top of the bread*
*any high quality preserve will work well with this bread

One 8½ x 4½ x 2½ loaf pan, greased

1. In a small bowl, whisk yeast into milk.  Slowly stir in 1 cup of flour. Cover with plastic wrap and set aside.

2. Pulse the butter, sugar, and salt at 1-second intervals in a food processor, scraping down sides, until the mixture is smooth. Add the eggs, one at a time, processing after each addition until fully incorporated. The mixture will have the consistency of curdled milk. 

3. Add remaining flour and yeast/flour mixture, pulsing at 1-second intervals until a soft, smooth dough is formed. At this stage, process continuously for 15 seconds more.

4. Turn the dough out onto a generously floured work surface.  It will be quite soft and sticky.  Knead until the dough is smooth and elastic.


5. Line the bottom of the loaf pan with greased parchment paper, and set aside.

6.  Press the dough into a 9-by-5-inch rectangle, with the short end facing you. Spread the jam evenly over the rectangle, being careful not to go to the edges of the dough. Fold each long side about 1 inch toward the center and press firmly to seal. Fold the top half of the dough toward the center. Fold the bottom half of the dough up past the seam; pinch seam to seal.

7.  Place the dough in the pan, seam side down, and flatten the dough with your hand so that it fills the pan evenly. Cover the pan with greased plastic wrap, and let the dough rise about  one inch above the pan rim.  Preheat the oven to 350˚F while the dough is rising.

8. Using a sharp knife, slash the dough down the center, leaving about 1 inch unslashed at either end. Bake until golden brown, about 40 minutes. Transfer pan to wire rack; let cool 5 minutes.


9.  Turn the loaf out of pan onto rack.  With a pastry brush, brush the top of the loaf with additional jam until glistening.   Let the bread cool to room temperature before serving.

Just enough of a sweet swirl to give brioche added flavour.  Try this bread to make delicious French toast
 

August 15, 2012

Happy Birthday Julia! A Summer Dinner with Julia's Chicken Salad and Peach Tarte Tatin


It would have been the utterly fabulous Julia Child's 100th birthday today, and to honour and celebrate her life, there have been hundreds of extravagant dinners served this month, featuring some of her best known and loved classics.  While it's true that Julia introduced the wonders of rich, complex French cooking to millions over her lifetime, she was also the master of dishes that are easy and quick to prepare. The constants? Top quality ingredients, seasonal goodness and of course, real butter.

If you're not inclined to whip up a roast duck and big gooey cake tonight - Julia's favourite birthday dinner, and the inspiration for this blog's name - try this simple and simply delicious summer meal instead.  Featuring flavourful chicken salad and an in-season peach tarte tatin, it's the perfect meal to enjoy on a warm summer's evening.  Pour a glass of chilly white and toast the woman who continues to bring us into the kitchen and inspire us to cook with thought, care and passion.

Bon appetit!

Julia's Chicken Salad
serves 6-8
adapted from Julia's Kitchen Wisdom  

6 c leftover roast chicken, white and dark meat combined, cut into generous chunks
Salt and freshly ground white pepper, to taste
2 tbsp olive oil
2 tbsp fresh lemon juice
1 c chopped celery tops (include the leafy bits)
1 c chopped walnuts
2 tsp chopped fresh tarragon
⅔ c homemade mayonnaise
Fresh mixed salad greens

1.  In a medium non-reactive bowl, toss the chicken with the salt, pepper and the next four ingredients, and mix thoroughly.  Cover with plastic wrap and refrigerate for at least 20 minutes or overnight.

Use the leafy green tops of the celery for extra flavour

2. While the salad is chilling, make the mayonnaise (watch this space for Julia's recipe coming soon!)

3.  When you’re ready to serve the salad, drain any liquid from the bowl.  Add the tarragon and just enough mayonnaise to coat the salad very lightly.  Or, as Julia says, to enrobe the salad – a lovely word! Place the salad greens on plates, placing a generous scoop of chicken salad on each, and serve.

Peach Tarte Tatin
serves 6-8
adapted from Julia's Kitchen Wisdom


With delicious peaches at their peak of goodness right now, I thought I'd adapt my favourite Julia Child dessert - classic apple tarte tatin - using peaches instead. The results were spectacularly good: must be the butter!

Here’s my version of Julia’s pie dough, which can be used for the tarte or for any sweet or savoury pie you wish to make. You will need about half of this recipe for the tarte. Or use your favourite pie dough; you will need enough dough for a single pie tart.  


For the Tarte Tatin:
6-8 firm but ripe peaches, peeled and cut into wedges
The juice and zest of 1 lemon
½ tsp cinnamon 
¼ tsp ground cardamom 
⅛ tsp ground mace
1½ cups sugar
6 tablespoons unsalted butter
Heavy oveproof 9-inch skillet for cooking and baking

1. Preheat the oven to 425F, with the rack in the lower middle position.

2.  In a large bowl, combine the sliced peaches with the lemon juice, zest and spices.  Set aside.


3.  In the skillet, melt the butter over medium high heat.  Slowly stir in the remaining sugar and cook, stirring constantly, until the mixture begins to turn syrupy and golden brown.  Be careful not to overcook, as the mixture can burn easily.

4.  Remove the skillet from the heat.  Arrange the sliced peaches in a circular pattern in the skillet, starting at the outer edge of the pan and working your way into the middle, until you have used all of the peaches.  Leave any accumulated juices behind.


5.  Return the skillet to the stove and cook over moderately high heat, pressing down on the peaches every few minutes.  Cover the skillet after ten minutes, but continue to press down on the fruit, and brush the tops of the peaches with the juices in the skillet. Watch the peaches carefully, as the sugar can carmelise and burn quickly.  When the juices are thick and syrupy (about 20 minutes) remove the skillet from the heat.

5.  On a lightly floured surface, roll out the chilled dough until it is about ⅛ of an inch thick and slightly larger in diameter than the skillet. Drape the dough on top of the peaches, pressing the edge of the dough between the peaches and the edge of the skillet.  Cut four steam holes on the dough and place the skillet in the oven.

6.  Bake until the pastry has browned and crisped, about 20 minutes.  Let the tarte rest for a few minutes and then unmold onto a serving dish.  This is a bit tricky but even if some of the peaches stick to the skillet, just arrange them onto the tarte.

7.  Cool slightly and serve.   


August 10, 2012

BSP3 Part Two: Peachy Keen Canning - Peach-Plum-Ginger Jam

Do you know Food in Jars? It's the absolutely wonderful blog authored by that genius of jam, Marisa McClellan.  Marisa's warm and inviting writing style welcomes you into her kitchen as she shares her preserving adventures, experiments, successes and near misses.  No matter what's bubbling in the pot, Marisa's blog makes you want to take a peek inside, dip a spoon in, and taste whatever deliciousness she's cooking.  Or better yet, load up at the farmers' market and try to capture all that ripe goodness in a jar for yourself.
I was beyond thrilled when I saw that Marisa was going to be at BSP3 this year.  But I also couldn't believe she had been at last year's gathering; Marisa, how have I missed meeting you two years in a row? 

Never mind.  A highlight of BSP was watching Marisa make plum jam, demonstrating her canning alchemy with grace and humour in 90˚ heat.  And best of all, I won one of Marisa's hot off the press cookbooks, the gorgeous Food in Jars.  With peaches in season and the best they've been in years, it was time to get back into the kitchen with Marisa.   

Peach-Plum-Ginger Jam
from Food in Jars, Marisa McClellan
makes approx 8 half pint jars

If you haven't canned before, this link will take you to my blog post on making plum jam, filled with step by step photos and further links to great canning sites (plus a super easy recipe for Italian plum jam).

Marisa doesn't specify what type of plums to use; whatever is in season and bursting with ripeness is the right choice.  I was lucky to get sweet and sunny Shiro plums; their bright yellow added a golden glow to the jam.

8 c peeled, pitted and mashed peaches (about 4 lb)
4 c pitted and mashed Shiro plums
6 c granulated sugar
1 c ginger juice*

*To make ginger juice, shred an 8 oz piece of peeled ginger, cut into large chunks, in a blender with ½ c of water.  Pour the ginger pulp into a cheesecloth lined sieve and squeeze out the liquid, discarding the remaining pulp.

1.  Prep your canning equipment. Clean and sterilise half pint jars by washing them in warm soapy water and rinsing thoroughly; putting them through the quick wash cycle in the dishwasher is even easier and ensures sterilization. Set aside on a clean tea towel.

2. Wash the lids and the bands.  Keep the lids hot in a small pot of simmering water.  Fill your canner with water, add the clean jars, and put on the stove over medium high heat.

3.  Combine the fruit, sugar and ginger juice in a large pot.  Attach a candy thermometer to the side of the pot and bring the jam to a simmer.  Increase the heat and boil the jam briskly until it reaches 220˚F, or it passes the saucer/spoon test.


4.  Drain the jars from the water bath, and pour the hot jam into the jars.  Apply lids and bands, put back in water bath and bring to a boil.  Process for 10 minutes, remove from water and set aside to cool thoroughly.

Peach-Plum-Ginger Jam; delicious with freshly baked croissants

August 05, 2012

Big Summer Potluck 3 Part One: Water Bugging

This morning I did something rather unusual.  I started my day by not water bugging.

No matter what day of the week, my mornings unfold in more or less the same way.  Make tea, coffee for Richard if he’s not travelling.  Feed Trixie, and whatever neighbourhood cats show up at the front door.  Turn on the radio.  And finally, impatiently, eagerly, sit down at my computer and re-establish my place in the digital world.  What Facebook updates have I missed?  Did anyone repin something from my Pinterest boards? What photos were posted on Instagram? Twitter…ah Twitter, how I love and hate you.  With my two accounts, there are endless conversations to be part of, articles to read and retweet, messages to launch, like so many tiny missiles, into the vast endless Twittersphere universe.  

And then there are work emails.  While I’ve been sleeping, Asia and Europe have been busy as bees, filling my inbox with questions, FYIs, requests and projects.  I’m fully engaged with all neurons firing, even though it’s only 6:30 am.

But here’s the thing. With all that activity, I haven’t had a single live human moment. I’ve been so busy trying just to keep up that I haven’t really tuned in.

So as I’ve been thinking about BSP3 and imagining what I might share about that transformative experience, I keep going back to water bugging.   

Have you heard of water bugging?  It’s the speedy skim, the surface conversation, the lightening quick flitting from one thing to another, all, of seeming very important and making you feel terribly busy.  But water bugging never gets beneath the surface, down into the depths of things: to that scary place underneath the rock in the deepest part of the lake; to the magical beauty that inexplicably survives 30 feet below the water. 

The Big Summer Potluck is all about what lies beneath.  It’s the antithesis of water bugging, made evident in every minute with abundance of real human moments abounding all around us.  It’s about bringing together the natural community that forms around food and amplifying it, shining a megawatt light on all that really should matter.

Unexpected beauty

As so as they have magically done for three years now, Maggy, Erika and Pam bring together people that force us to get our hair wet, to dive deeper into the lake that is our hearts and really connect with not just each other, but ourselves.  I’ll share more about the collective awesomeness of Brooke Burton-Lüttmann, Joy Wilson, Marisa McClellan and Molly O’Neill in a future post, and how, in their very distinctive ways, each of them pulled us into the lake with joyous splashes.

But right now it’s 9:30 am.  I’m in my garden, the cacophony of honey bees burrowing in the anemones impossibly loud and delicious.  The digital world is a click away, but I’m swatting that particular water bug down for the moment.  I have a husband to call who’s far away, and human moments to create.


With heartfelt thanks to Maggy for her water bugging intro to BSP3 and the amazing sponsors who made BSP3 possible, memorable and tasty!

July 20, 2012

Summertime Baking: Rhubarb Upside Down Cake


fleet·ing (flē’tĭng)  adj. Passing quickly; ephemeral

There is the slow, snail-like wait.  Daylight encroaching into darkness at an ever-later hour; the thermostat rising in degrees haltingly like a cranky mid-century oven.  Closets in between sweaters and shorts; shoots barely breaking the soil to reach for the sun.

And then suddenly it's summer - blazingly hot, electric blue-sky summer. The heat blasts at 500˚F, and the days start to get inexplicably shorter, even before the dog days have truly begun.  The flowers wilt in the heat and you do too, cooling off in barely there dresses and flipflops.  Your favourites - the ones that you have waited for with longing and anticipation - make their glorious entrance and just as quickly begin to maddeningly disappear.  Juicy peaches; the season's first cherries and strawberries; asparagus so tender green it makes you weak. 

Here today, gone tomorrow rhubarb

And perhaps most fleetingly of all, ruby red, tangy, tart and slender rhubarb stalks.   While strawberries and rhubarb have had a long love affair with one another, I prefer to give this most ephemeral of vegetables a starring role all of its own.  The taste will linger long after rhubarb pulls up its roots and leaves town. 

Rhubarb Upside Down Cake
with slight adaptations, from Melissa Clark, New York Times 
serves 8-10

1¼ c unsalted butter (2½ sticks), at room temperature
1½  pounds rhubarb, rinsed and sliced into ½-inch cubes (about 6 cups)
1 tbsp cornstarch
1½ c granulated sugar plus 2 tbsp
½ c light brown sugar plus 2 tbsp
2 c cake flour
1½ tsp baking powder
½ tsp fine sea salt
Zest of 1 lemon, grated
1 tsp vanilla bean paste
4 large eggs
⅓ c sour cream
2 tsp lemon juice

1. Heat oven to 325˚F.  Line the bottom of a 9-inch springform pan with parchment paper. Butter the paper and sides of the pan. Wrap two layers of foil under the pan, and place it on a baking sheet.

2.  In a medium bowl, mix rhubarb, cornstarch and ½ cup plus 2 tbsp of granulated sugar.


3.  Sift together the cake flour, baking powder and salt and set aside.

4.  Blend the remaining 1 cup sugar with lemon zest with your fingers until the zest is distributed evenly throughout the sugar.  Set aside.

5.  In a stand mixer, cream 1 c butter for two minutes. Add the lemon zest-sugar mixture and cream together with the butter at medium-high speed until it is light and fluffy, about 4 minutes, scraping down the bowl periodically.

6.  Add the vanilla bean paste and mix well. Add the eggs, one at a time, mixing well after each addition. Mix in the sour cream, and then the lemon juice. 

7.  Turn the mixer to low, and slowly add the flour mixture, ¼ cup at a time, until well combined, scraping down the bowl periodically.  The mixture should be very light and fluffy. Set aside.

5.  Heat all of the brown sugar and remaining ¼ c butter in a pan over medium heat. Whisk until smooth and bubbling, about 2 minutes.

6.  Pour the brown-sugar mixture into the prepared cake pan, then spoon in the rhubarb and its juices. Spoon in the batter so it covers all of the rhubarb, smoothing out the top evenly.

7.  Bake for 1 hour and 15 minutes.  At this stage check for doneness: if the top of the cake is firm and springs back and a toothpick stuck in the middle comes out clean, it is done.  In my oven, the cake takes 1 hour and 45 minutes to completely bake, so don't worry about overbaking the cake.

8.  Place the pan on a wire rack, and cool for 15 minutes. Run a knife around the cake, place a plate on top of the pan and turn it upside-down.


Enjoy with a cold glass of milk and save room for seconds.

July 11, 2012

Peas Please: Sweet Pea Summer Soup with Marjoram

Is there anything more delicious than a simple bowl of sweet pea soup?  The variations are infinite, needing only imagination and whatever the garden or cupboard will yield.  Pick a herb; parsley for freshness, basil for bite, mint for green coolness.  Choose a base: something from the allium family; liquid as simple as water or as complex as rich chicken stock.  Fresh peas are best; in a pinch or in the dead of winter, frozen nearly as good. The pleasure of leisurely shelling peas on a warm summer afternoon is almost as satisfying as sipping the results.  Served warm or chilled, sweet pea soup is what summer is all about.

Sweet Pea Summer Soup with Marjoram
serves 4-6

You don't need to plan far in advance for sweet pea soup.  With willing hands to help with shelling, the soup can be ready and on the table in less than 30 minutes.  I love using marjoram for a unique and subtle flavour that complements the fresh green sweet pea taste.

Farmer's market peas, ready for shelling

1 leek, trimmed and thinly sliced (about 1 cup)
⅛ lb pancetta, minced into very small pieces
1 shallot, minced
2 tbsp unsalted butter
2-3 sprigs marjoram
4 cups chicken broth
4 cups fresh shucked peas (or 4 c frozen, thawed)
Salt and white pepper (optional) to taste
¼ cup heavy cream

1.  Melt butter over low heat and add leek, pancetta and shallot.  Saute, stirring occasionally, until vegetables are very soft, about 10 minutes.  Do not brown.

2.  Add the majoram and the broth, turn heat to medium and bring to a simmer.  Add peas and simmer for 6-8 minutes.  Turn heat off and let soup cool slightly.  Remove marjoram sprigs.

3.  In a blender or food processor, puree soup in batches. 

4.  Warm soup over medium heat, adding ¼ cup heavy cream and stirring to incorporate. Season with salt and white pepper to taste. Serve with crème fraiche, if desired.  Soup can also be served chilled.

Serve this flavourful soup warm or slightly chilled

July 04, 2012

Toasting Spain: Spanish Style Stuffed Prunes


European football isn’t usually my thing.  I’d be hard pressed to tell you who plays for Manchester City or Manchester United, or what the difference is between A.C Milan and F.C Internazionale Milano.  But I do love championship football.  The athleticism, the speed, the elaborate hairdos and drama – all of it combines for high octane entertainment.

Living in Toronto makes it easy to know what’s going on and who’s winning. Cars suddenly spout flags and a victory for Portugal or Italy in my neighbourhood is signalled by cars honking long into the night.  Fever pitch excitement mounted all across the city last week as the finals for Euro Cup 2012 wound down to Sunday’s Italy-Spain showdown.   

My patriotic Italian blood runs high when Italy makes it beyond the preliminary rounds.  But I also know when my team is outplayed.  Spain came in and dominated from the first kick of the ball.  In honour of the winning team, here's a sweet and salty bocadillo to nibble with cocktails.  It somehow makes defeat a little easier to bear.

Stuffed Prunes
(adapted from Tapas, by Simone and Ines Ortega)


3-4 oz Stilton or Roquefort cheese
¼ c raisins
¼ toasted pine nuts
1 tbsp sweet sherry
12-15 pitted prunes

1.  In a small bowl, mash the cheese gently with a fork until creamy.  Stir in the remaining ingredients and mix thoroughly until combined.


2.  Fill each prune with a teaspoonful of filling.  Refrigerate if making ahead, bringing to room temperature before serving.


April 07, 2012

Nutty About Butter: Easy Homemade Walnut Butter

I am a firm believer that everything's better with butter.  No, not margarine, or butter substitute (do you remember I Can't Believe It's Not Butter? Yep, they still make it).  The soft creaminess, the rich flavour, the inimitable depth that even a small pat of butter can impart cannot be replaced. 

The amazing thing about this most elemental of ingredients is just how easy it is to make at home.  I did just that for first time a couple of years ago and it opened my eyes to a world of possibilities.  If cream alone could be transformed by some strange alchemy into butter, what else might I make? 

If you've bought anything like a nut butter lately, you'll know what a pricey proposition that can be.  Make it organic and double the price.  So why not make nut butter at home?  The possibilities are as endless as the diversity of nuts available.  Almond butter seems like the obvious choice, so I decided to try something a little more out of the ordinary. 

What about walnuts? Raw walnuts have a hint of tannic bitterness, and I wondered if toasting the walnuts would take the edge off.  To smooth it off even more, and add a bit of buttery creaminess, I mixed in a handful of cashews.  The result is a deliciously different nut butter, perfect for a just toasted piece of dense nutty German bread, such as those made by Mestemacher.

Easy Walnut Butter
makes approximately 2 cups

3 c walnuts
1 c cashews

1.  Preheat oven to 350F.

2.  Spread the walnuts and cashews evenly on a baking sheet.  Toast for five to seven minutes, or until colour is slightly darkened and nuts are fragrant. 


3.  Blend for threee to five minutes in food processor, or until creamy smooth.

Toast your favourite bread, spread lavishly and enjoy a bite of healthy and delicious goodness

March 18, 2012

A Winter Cheat: Roasted Tomato Soup

Just about this time of year, I suffer from Seasonal Affective Disorder. The symptoms are all there: lack of energy and the ability to concentrate; slow, lethargic movement; social withdrawal; irritability. Except the cause is not what you might think. I'm perfectly fine with grey skies, and every day after the winter solstice gets reassuringly longer.

No, it's not the weather, tempting as that may be to blame. The cause of my winter doldrums is quite simple. No tomatoes. After the glory of late fall's harvest, I'm left leaden by the hard and unyielding, artificially red orbs in the produce section. Mexico's harvest doesn't tempt me, and even the baby tomatoes that grow up in greenhouses seem somehow wrong and out of place next to the kale and cabbage.

While it's noble to wait until the seasons spin around again, I still imagine there must be some easy way to extract a kernel of flavour from what's at hand. And just as the secret to a summer tomato is the heat of the sun, so too is heat the trick to bringing life to the seemingly lifeless winter tomato. This delicious soup almost manages to make you think that the sun shining outside is smiling down on leafy tomato plants and not a blanket of snow.

Roasted Tomato Soup
from Gourmet Today
serves four to six

4 lb tomatoes, halved lengthwise
6 garlic cloves, left unpeeled
3 tbsp olive oil
½ tsp salt
¼ tsp black pepper
1 medium onion, finely chopped
½ tsp dried oregano, crumbled
2 teaspoons sugar
2 tablespoons unsalted butter
3 cups chicken stock or low-sodium broth
½ cup heavy cream

1. Preheat oven to 350°F. 

2. Place tomatoes and garlic in one layer on a rimmed cookie sheet, tomatoes cut side up. Drizzle olive oil over the tomatoes and garlic; season with salt and pepper. Roast for one hour, and allow to cool.  Once garlic is cool enough to handle, peel and set aside.


3. Melt butter in a medium saucepan over moderate heat.  Add onion, oregano, and sugar and sauté, stirring frequently, until onion is softened, about five minutes. Add tomatoes, garlic, and stock and simmer, covered, for 20 minutes.

4. Let soup cool slightly and then purée in batches.  Put the soup through a sieve, discarding solids, and place in a medium saucepan. Stir in cream and salt and pepper to taste and simmer two minutes.  Sprinkle with some grated Parmigiano Reggiano, if desired, and garnish with a fresh sprig of basil.


The addition of cream gives this soup an almost carroty colour

If the thought of using winter tomatoes still doesn't appeal, wisely do what the Italians do and use canned tomatoes, sourced at their height of juicy goodness.